Attach Connectors to Electrical Clips
In this video I begin to work with the electrical components. The clip connector provides a simple clip-to-connect function.
NB: This neon kit carries a low voltage of 12 volts. Which is very low and does not pose a risk of electric shock or injury.
Key Points
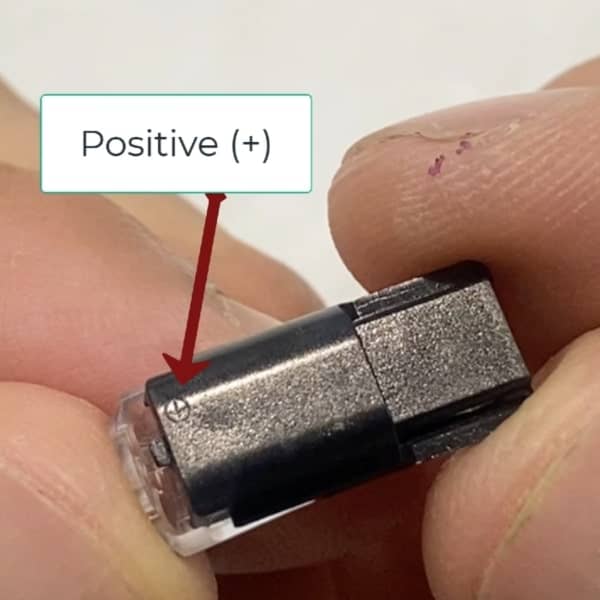
- The connector clip has a positive and negative port. The positive port is labelled with a positive symbol (+).
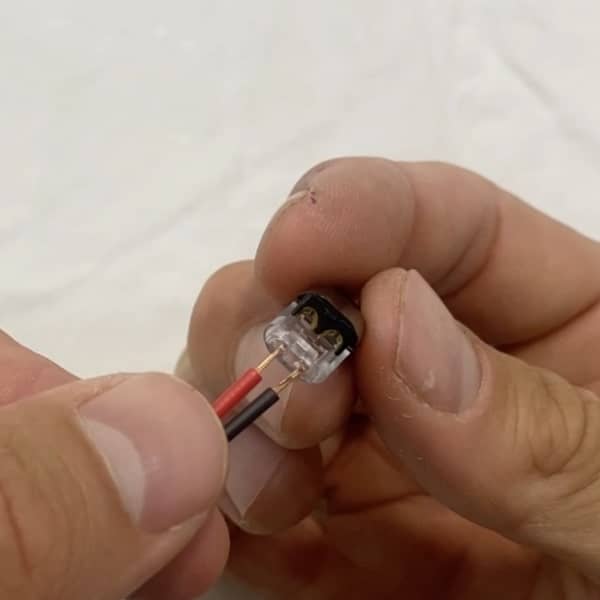
- The electrical clip has a red and black wire. The red wire is positive and the black is the negative.
- The red wire (positive) connects to the positive port on the connector clip. The black wire (negative) connects to the negative port on the connector clip.
- Before you begin, roll the exposed wire tips between your thumb and forefinger to prevent them from fraying.
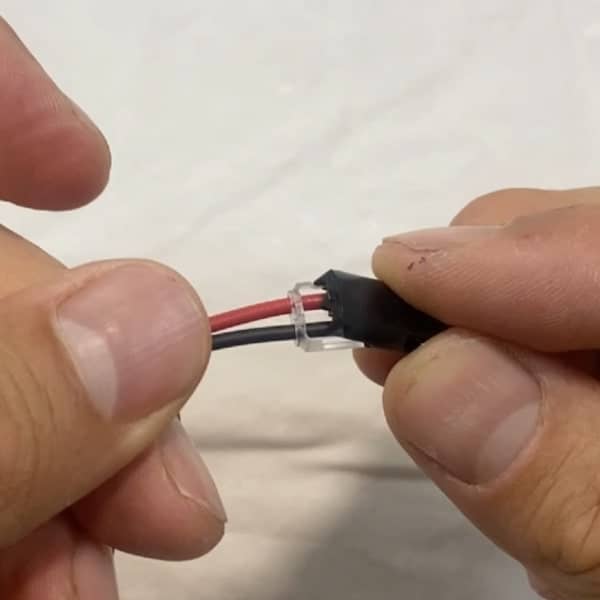
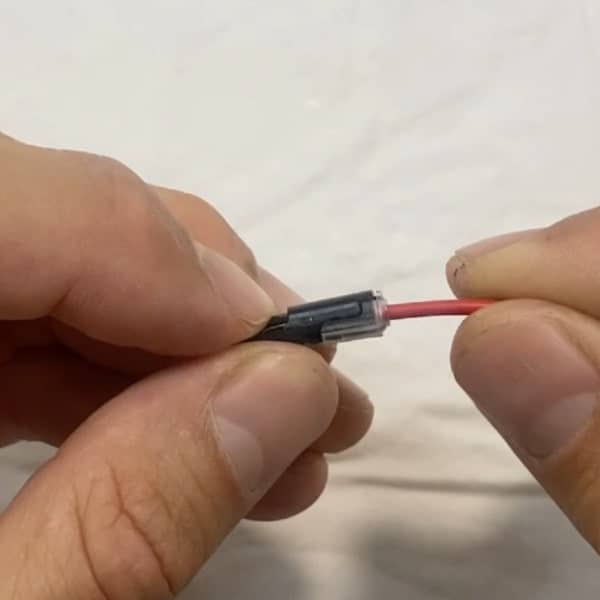
- Insert the wires into their corresponding port on the connector clip. Push the wire firmly into place.
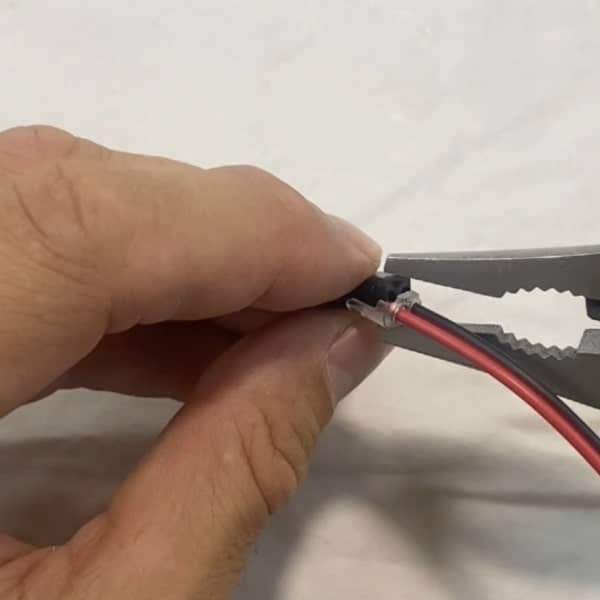
- Use pliers to close the connector clip latch. Do not force the latch closed as this will break the clip. Apply gentle pressure to the resistance point and then release. Repeat this several times closing the latch more with each attempt. The latch will often make a click sound when closed.
- Take hold of the connector clip in one hand and the protruding wires in the other. Give them a wriggle to test and make sure the latch remains closed.