Attach Junction to Junction Wires
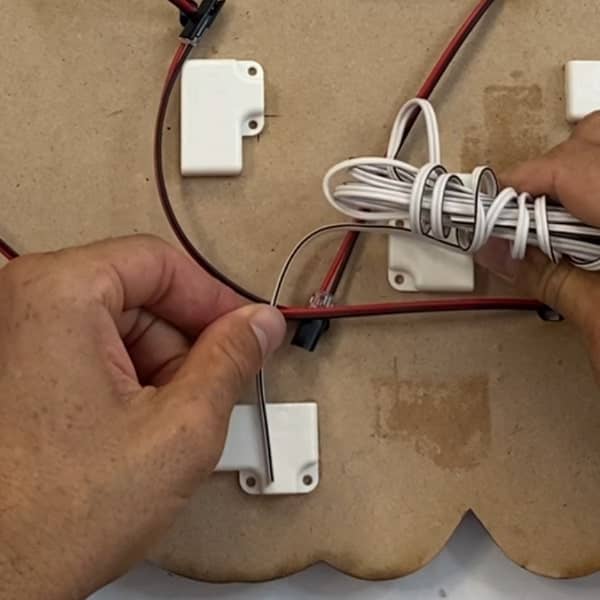
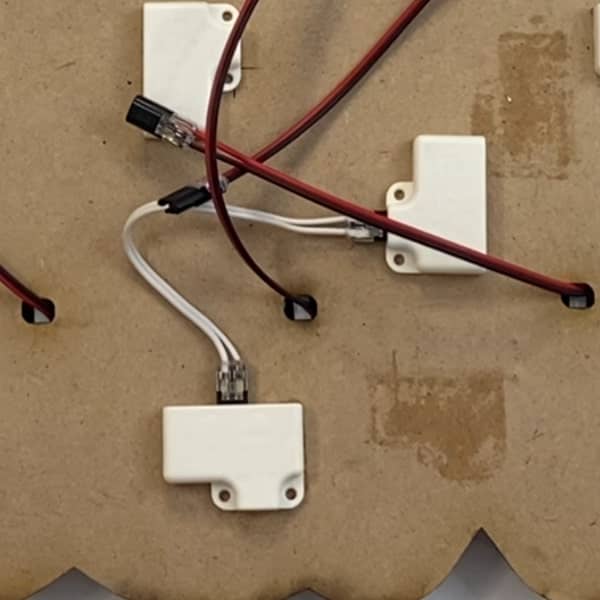
In this video I’ll connect the electrical junctions with connecting wires. Starting from the power source, I’ll add connecting wire between each junction until all junctions are connected to the circuit.
Key Points
- Use the electrical wire to measure a suitable length between the first electrical junction (out port) to the second electrical junction (in port). Then cut the required length of wire.
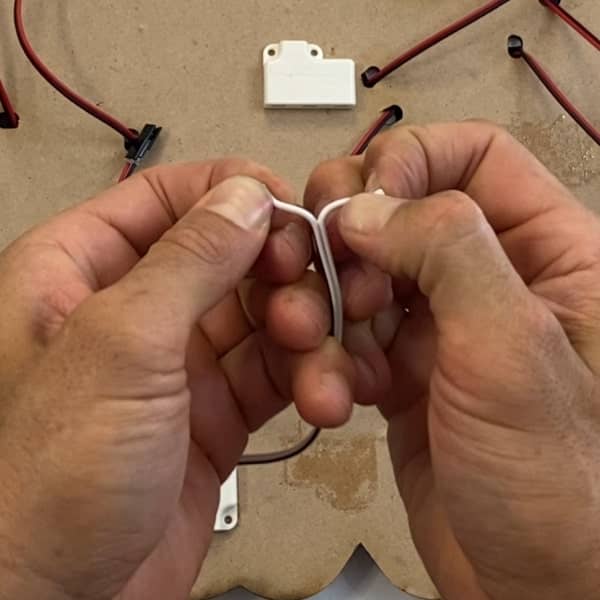
- Split the positive and negative wire approx. 3-4cm from the top and bottom.
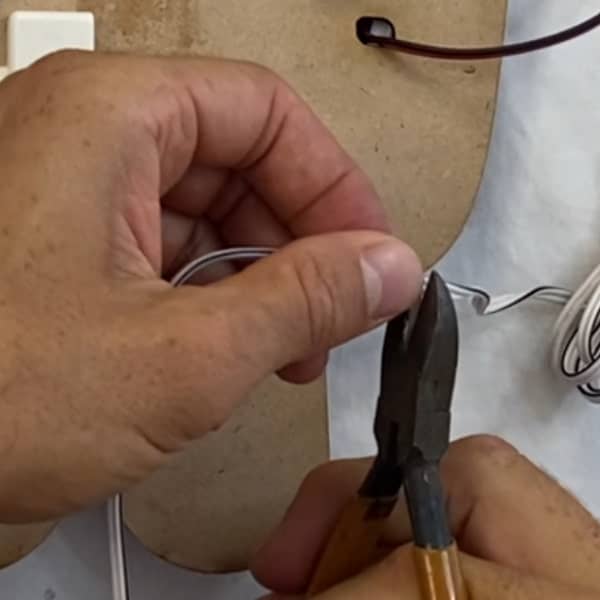
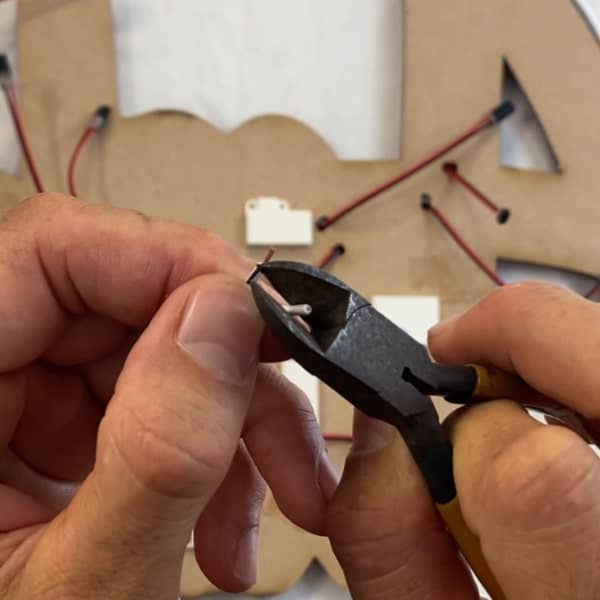
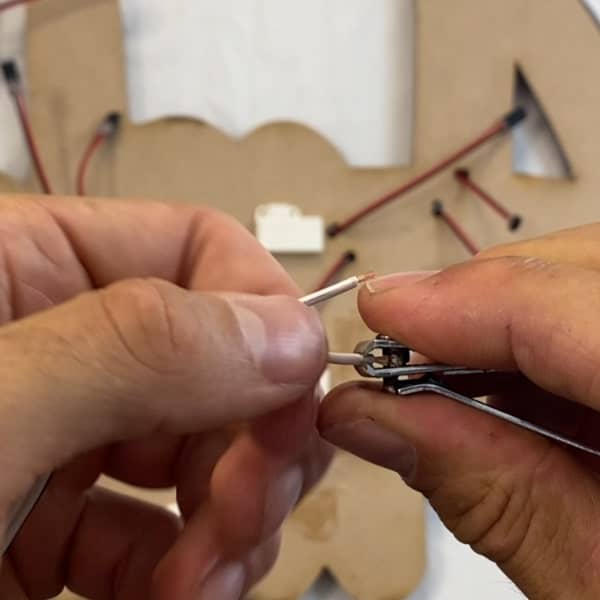
- Use wire strippers (alternatively you can use nail clippers – see video) to remove around 5mm of the wire coating at the ends of the wire.
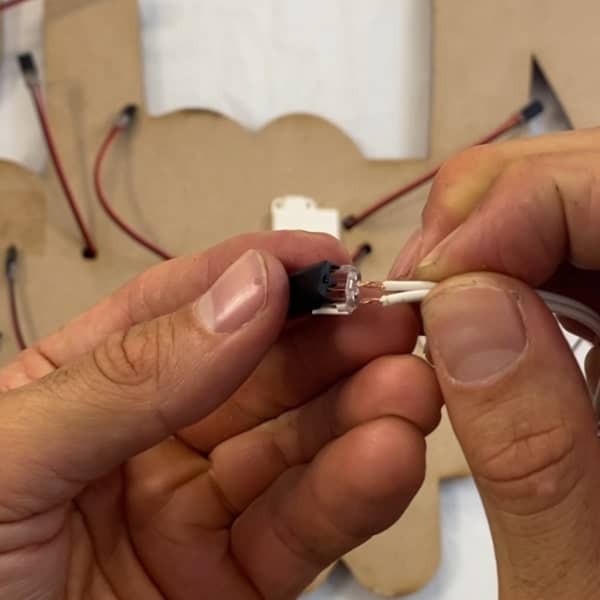
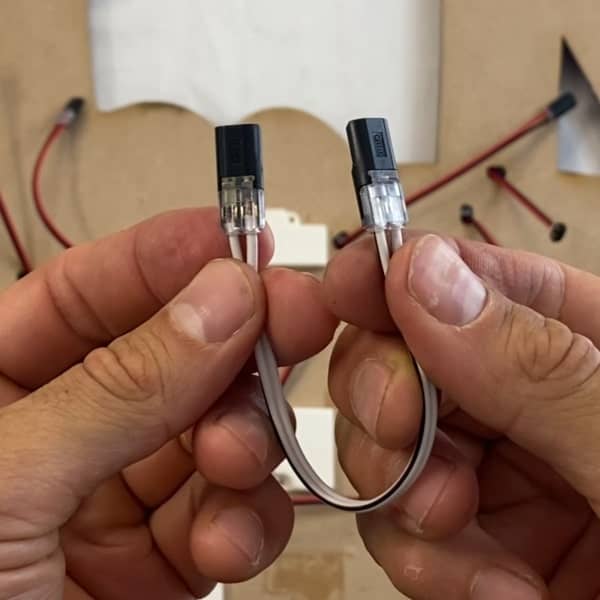
- There is a positive and negative wire. The striped wire (negative) connects to the negative port on the connector clip. The wire without stripe (positive) connects to the positive port on the connector clip.
- Roll the exposed wire tips between your thumb and forefinger to bind them together.
- Insert the wires into their corresponding port on the connector clip. Push the wire firmly into place.
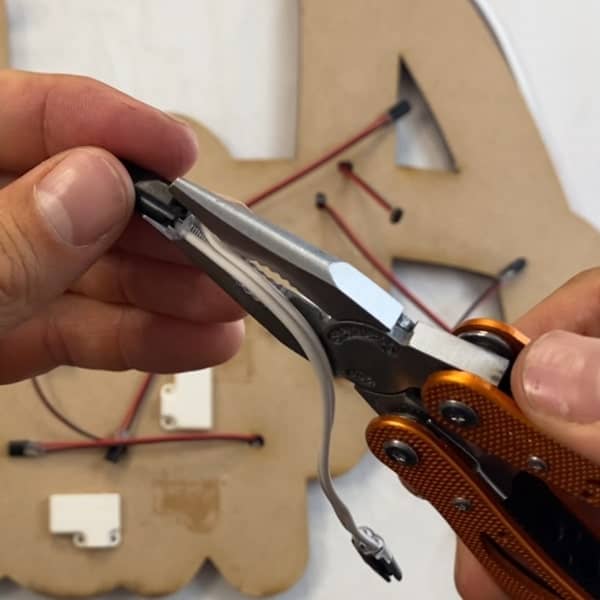
- Use pliers to close the connector clip latch. Do not force the latch closed as this will break the clip. Apply gentle pressure to the resistance point and then release. Repeat this several times closing the latch more with each attempt. The latch will often make a click sound when closed.
- Repeat this process to fit connector clips at both ends of the wire.
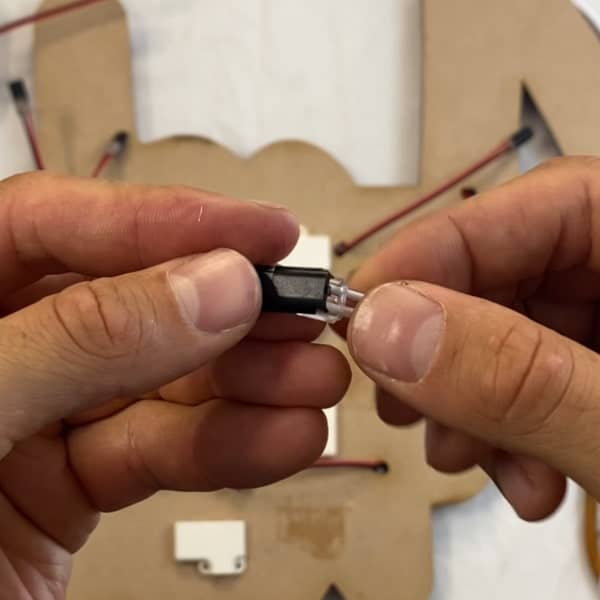
- Hold the connector clip in one hand and connecting wires in the other. Give them a wriggle to test and make sure the latch remains closed.
- Fit wire into position in the desired electrical junction.
