Attach Electrical Clips to Neon Flex
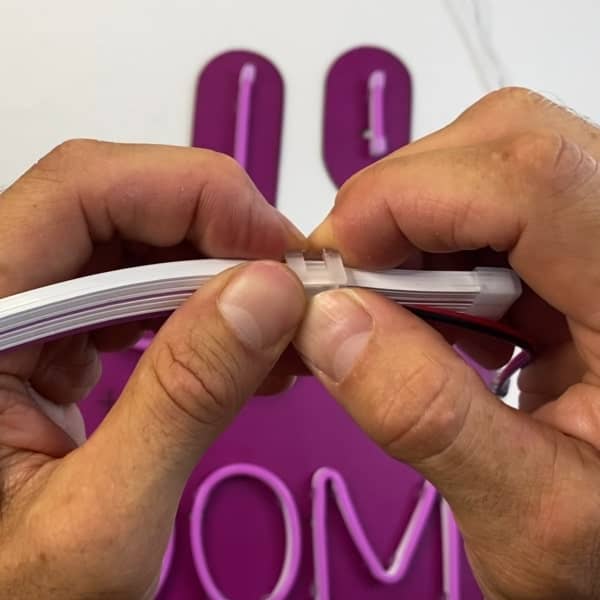
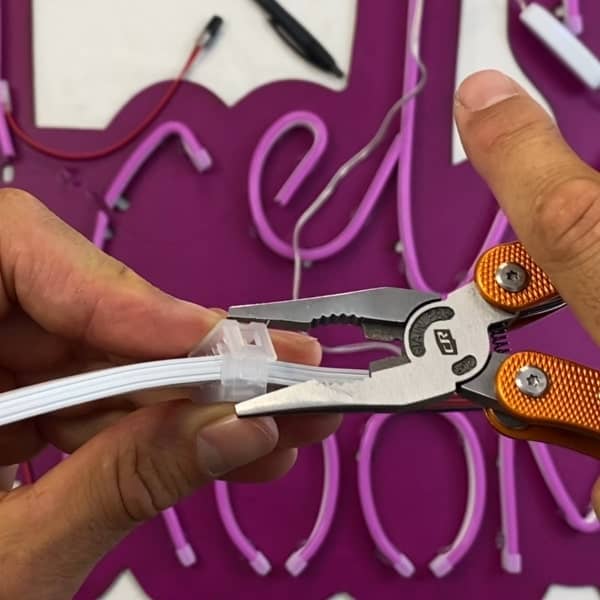
In this video I attach the electrical clip to the neon flex. The electrical clip has two pins that pierce through the wall of the neon flex. This connection can only be made on the side of the neon with the dotted track. I demonstrate two ways to attach the electrical clip, (1) using just your hands, and (2) with the assistance of pliers.
Key Points
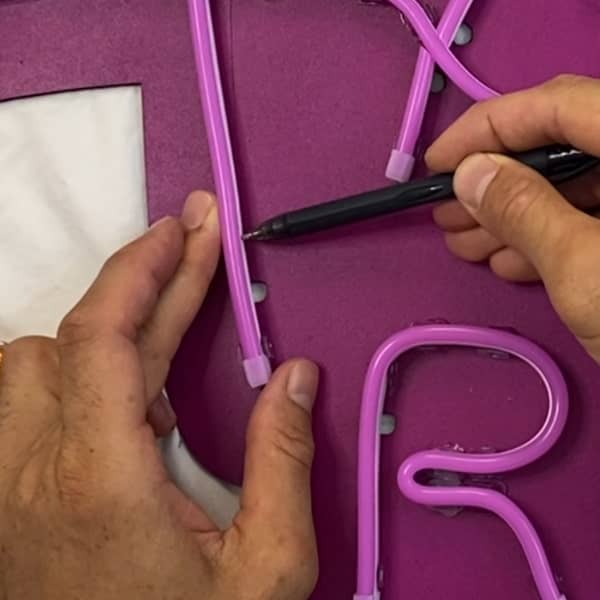
- Place your neon flex strips in position on the backboard. Make sure they are facing the right direction with respect to the backboard holes.
NB: The backboard holes should have at least 3cm space to the right of the hole (where the electrical clip connects to the neon flex). The electrical clip attaches to the side of the neon flex that has the dotted line. This dotted line should be visible to the right of the backboard hole. - With a non-permanent pen, make a mark on the side of the neon strip 3cm to the right of the backboard hole.
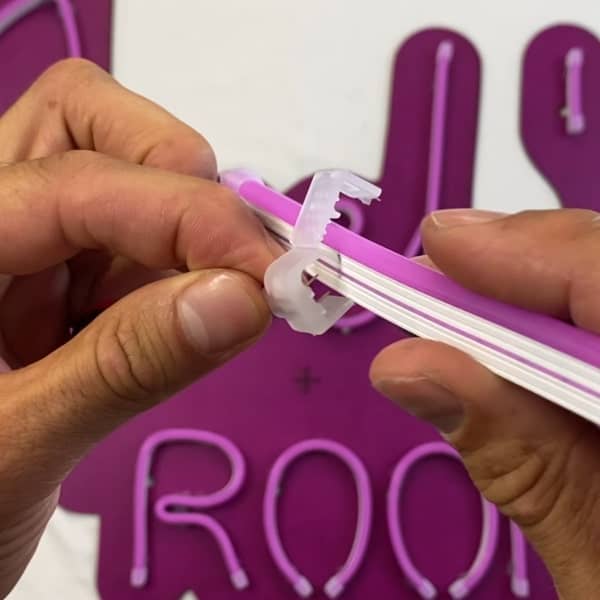
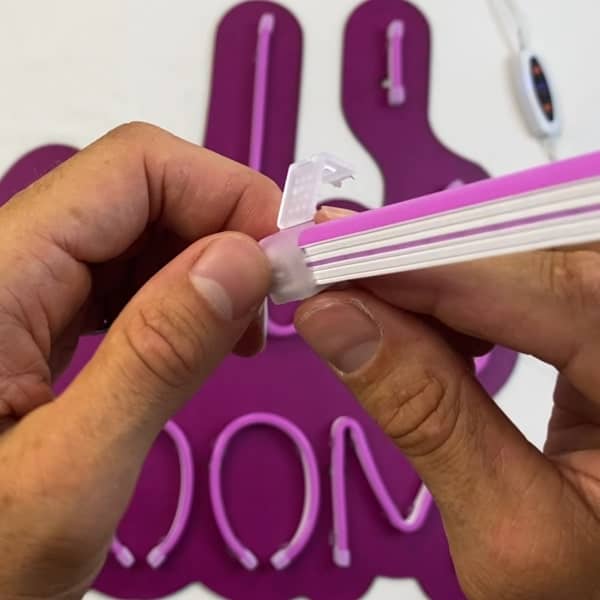
- Remove the neon strip from the backboard. With the electrical clip in hand, press the bottom edge of the neon strip firmly against the bottom edge of the electrical clip. Then squeeze the two components together so the pins of the electrical clip insert into the neon flex (on the same side as the dotted line). Finally, close the electrical clip latch.
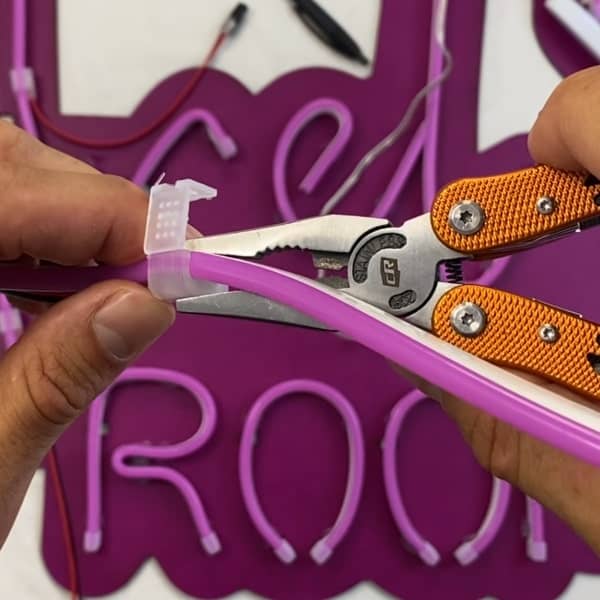
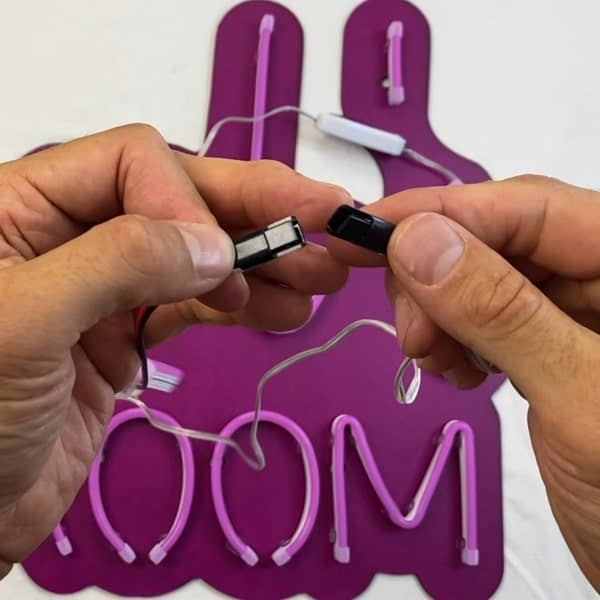
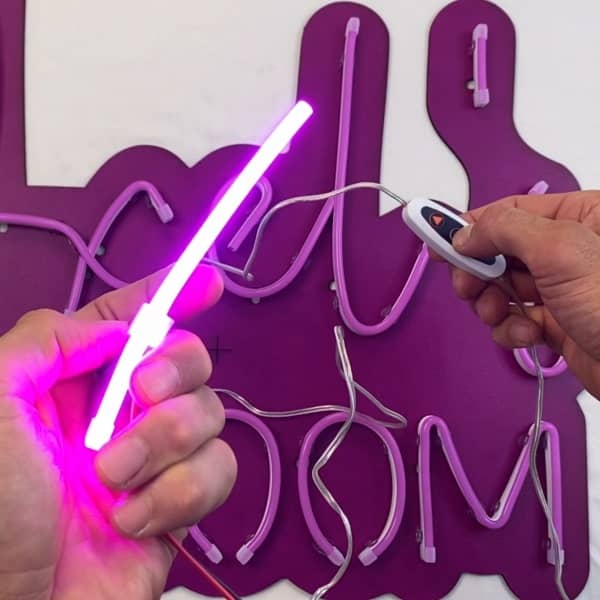
NB: If required you can use pliers to squeeze the two components together and close the latch. - To test that the neon flex is correctly fitted, connect the electrical clip to the power source (transformer and dimmer switch). Turn the power on from the mains power and then from the dimmer switch. Your neon flex strip should light up if it is correctly fitted.
- Repeat this process for each of the neon strips when you attach the electrical clip.